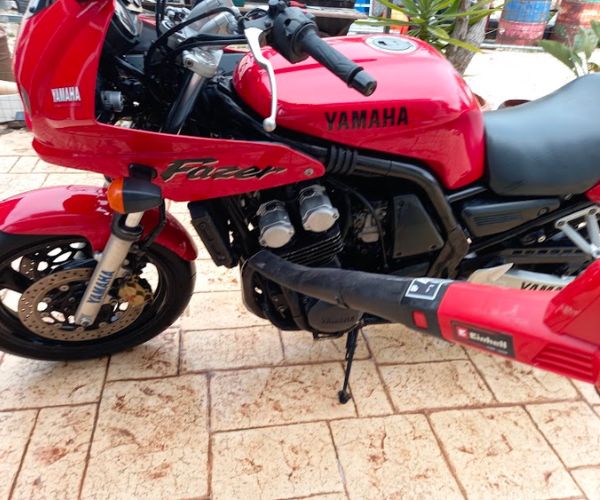
Washing a motorcycle is probably something you have a good idea about already, but it doesn’t hurt to hear how someone else goes about it. Some ideas, hints, and tips may have never occurred to you.
We can all agree, though, that keeping your bike in good condition is part pride and part ensuring the resale value of your bike in the future.
Step-by-Step Instructions
- Preparation
- First rinse
- Spray on a bike cleaner
- Apply snow foam
- Wash with a shampoo
- Dry the motorcycle
- Apply a protective coating
Preparation
Get the bike on a center stand, or use motorcycle stands to make washing easier. Washing the wheels is far easier as you can spin them to cover them completely.
A rear paddock stand is essential if you don’t have a center stand because it allows you to oil the chain easily, and a front paddock stand is excellent for easier servicing and cleaning.
First Rinse
Rinse off the worst muck and dirt with a hose, getting plenty of water in all the difficult areas to flush out dirt, mud, and salt. Use a jet wash if the bike is really muddy, such as a dirt bike or one covered in salt from a winter ride.
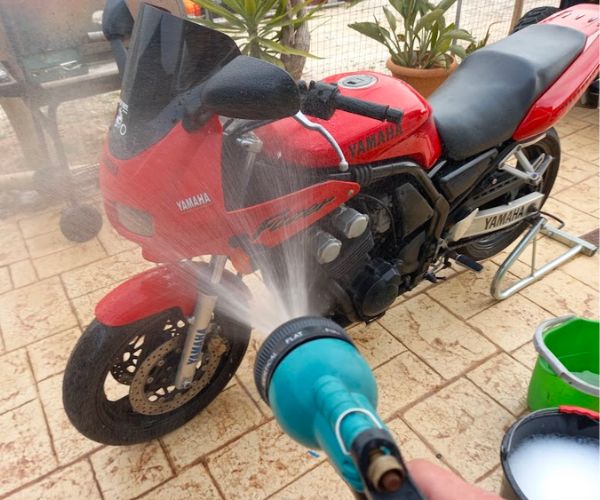
Many people say you should never use a jet wash, but they are useful tools. Never point the jet wash at oil seals or components that are greased. The pressure of a jet wash can push past the seals and damage the bearings.
Apply a Bike Cleaner
Rinsing the bike with water doesn’t remove the most stubborn muck, like dead bugs. You need a dedicated cleaner for that. Spray the bike with a product like Muc-Off to break down baked-on dirt.
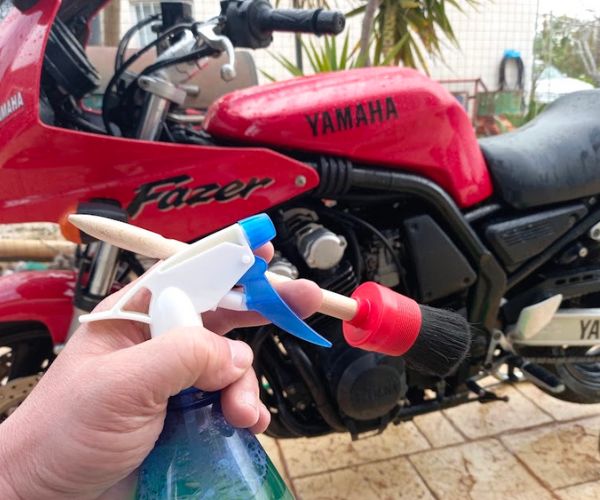
Leave the cleaner on for a few minutes, then agitate the product with water and a bug-removing sponge, such as the Bugs N’ All Bug Sponge. These types of sponges have a fine mesh that helps to remove stubborn dirt without causing any damage. Just remember not to scrub too hard.
Some bikers don’t like using products such as Muc-Off because they use salt in the formulation. While salt left untreated on your bike will cause damage, you’re not leaving the product on the bike long enough to dry. Rinse the bike thoroughly, and you won’t have a problem.
You may have had enough at this point, but if you have time and want to get more dirt off, carry on to the next step.
Use Snow Foam
Spray the bike with a liberal coating of snow foam. While this might seem like repeating the previous step, snow foam can get into areas you can’t reach or even see.
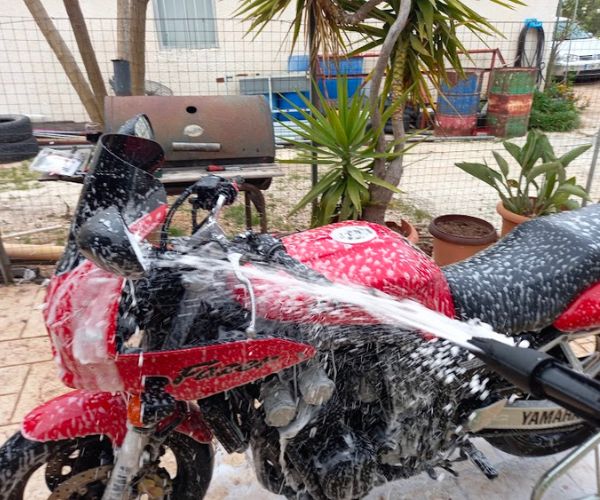
Don’t leave the snow foam on the bike for more than a few minutes. The chemicals in these products are excellent at removing dirt, but they can damage the finish if left too long.
After about five minutes, use a hose to rinse the snow foam off gently. Make sure you get plenty of water in the difficult-to-access areas.
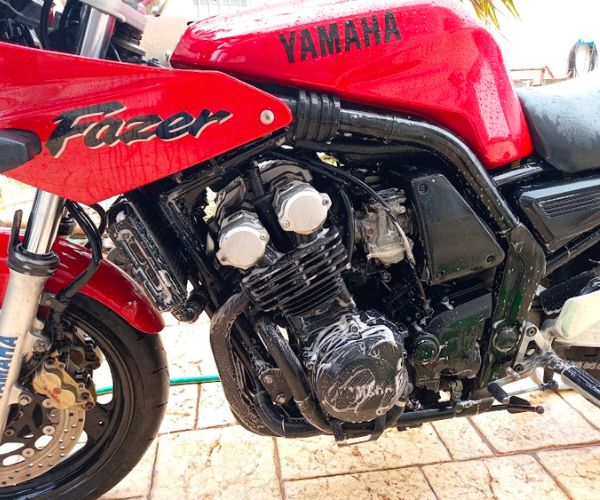
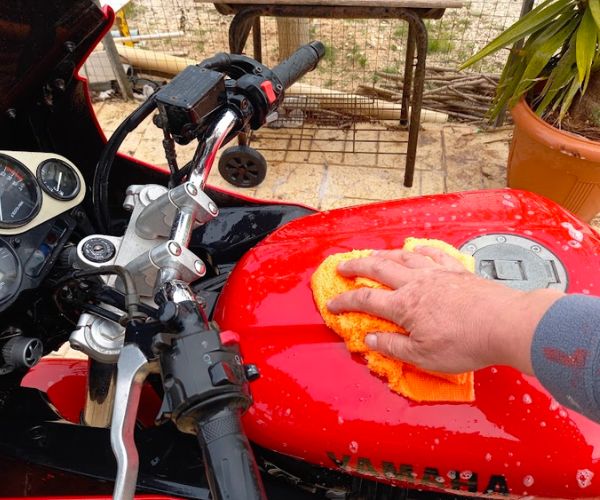
Wash the Motorcycle
Now we come to the stage of actually washing the bike! Use a wash product like Meguiars Gold, which doesn’t leave streaks and leaves the paintwork gleaming. A decent wash mitt will also help, giving a soft scrub all over the bike.
The two-bucket method
Much has been said against and in favor of the two-bucket method. If you don’t know what it is, let me explain.
Simply put, the two-bucket method uses one bucket for the washing suds and another as a rinse for the wash mitt that contains only clean water. Dip your wash mitt in the suds bucket, give part of the bike a good soaking, and then rinse the mitt in the second bucket.
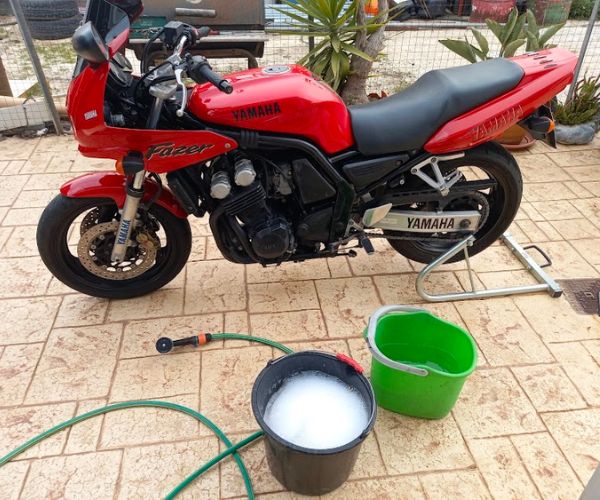
The theory is that any dust or dirt particles the wash mitt picks up will be rinsed off when you put it in the second bucket. This helps to prevent those tiny scratches you see on paintwork.
Whether the two-bucket method is effective is debatable, but it can’t be bad, so why not.
Once you’ve thoroughly washed the bike, give it another rinse.
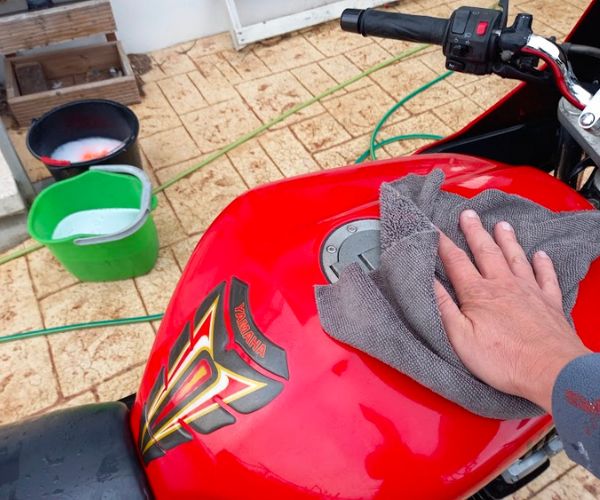
Dry the Motorcycle
Just as important as washing the bike is drying it, particularly if you are storing the bike for winter.
Start with chamois or microfiber cloth to remove most of the water, use clean or new cloths, and replace them often. Small bits of grit collected by the cloths will put fine marks and swirls on the paintwork.
You can’t completely dry the bike using cloth, so use an air dryer to blast water from all the nooks and crannies. While dedicated bike blow dryers are available, like the Air Force Blaster Motorcycle Dryer, you can use a garden leaf blower or even a hair dryer.
One significant advantage of vehicle dryers is that they have nozzles to direct a strong air stream into even the smallest places.
The most significant disadvantage of dedicated bike dryers is that they can be expensive. However, some of us ride bikes worth tens of thousands of dollars, so a few hundred on a bike dryer is a good investment.
Optional Step: Apply a Protective Layer
Now that you have a sparkling, clean bike, how can you keep it that way?
My best recommendation is to clean your bike often. If you have to put your bike in the garage dirty, make sure you give it a quick hose down first to remove the worst of the dirt and then give it a proper clean as soon as possible. Cleaning your bike often will be much easier with a protective layer.
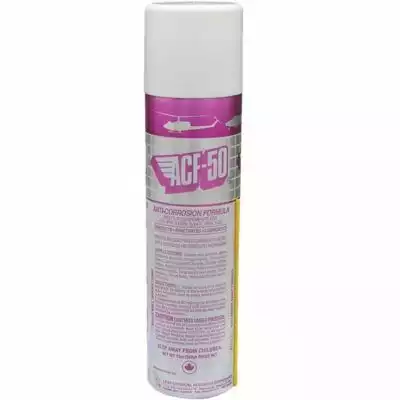
A range of products can help you clean your bike more easily. One such product is ACF-50 Anti-Corrosion Protectant. ACF-50 was developed for aircraft electrical systems to prevent corrosion in extreme situations.
When applied, ACF-50 leaves a fine coat of protectant on all surfaces, making rinsing off the dirt much more effortless. If you ride in countries or areas that use salt on the roads, it makes sense because the coating will slow the damaging effects of the salt.