Your motorcycle’s engine oil is one of the most critical components of your bike. It lubricates, reduces wear, and cools the engine during regular running.
You should change your motorcycle engine oil and filter at the recommended service intervals as a bare minimum. You might do it more often.
This short article shows the best practices for changing your motorcycle engine oil.
Oil Change Checklist
- Buy oil and filter
- Buy any tools you may need
- Prepare your motorcycle
- Drain the old oil
- Change the oil filter
- Fill the engine with fresh oil
- Final checks
Preparation
Before you get the tools out, some essential preparation is a good idea.
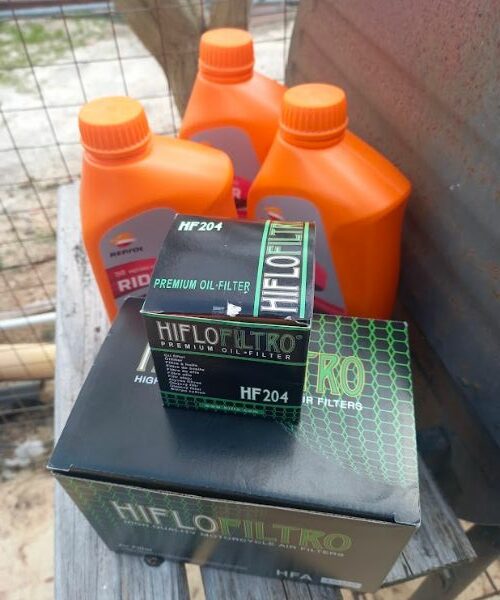
Buy Fresh Oil and Filter
In most cases, you must purchase oil designed for motorcycles. Engine oil designed for cars has additives incompatible with most motorcycle engines.
Revzilla has a great selection with a handy model finder to help you find the correct oil.
Read: Can you use motorcycle oil in a car?
The most significant difference is that most cars use dry clutches, whereas most motorcycles use wet clutches. A wet clutch runs in the engine oil, and additives in car engine oil can make the clutch slip.
Check your user manual for several essential facts:
- The viscosity of oil you need. Oil viscosity is expressed as SAE 10W40 or similar, where the first number indicates cold temperature viscosity and the second number indicates hot temperature viscosity. Follow this link for more information on engine oil SAE viscosity.
- The type of oil required. It could be mineral, semisynthetic, or fully synthetic.
- How much oil is required. The amount varies depending on whether you’re changing the filter or not.
It’s up to you to stick to the manufacturer’s recommendation for changing the oil filter or simply change it every time you change the oil. (Revzilla has a part finder here.)
For the relatively low cost, changing the filter more often isn’t going to hurt.
Buy Any Special Tools You May Need
No special tools are usually required, but it’s worth checking first. You will need a basic tool kit to remove any fairing panels that are in the way and the oil-drain bolt. It’s also worth investing in an oil filter wrench.
Don’t forget to buy some rubber work gloves. The cheap disposable ones are ideal. Old engine oil is full of contaminants and not very good for your skin.
Find a Suitable Location and an Oil Container
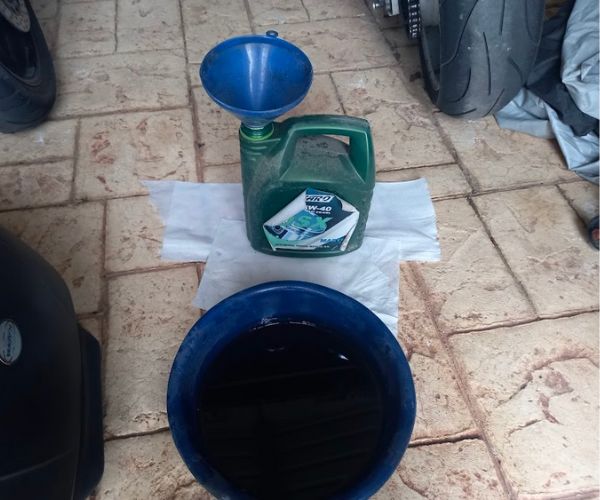
When you drain your motorcycle engine oil, find a flat, level location with space around to work. If you have room in a garage or shed, all the better. The idea is to get as much of the old oil out as possible, so try to let the oil drain for a few hours.
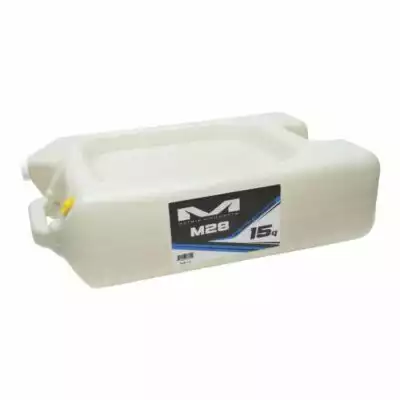
Often, there isn’t much space underneath the engine oil-drain hole, so you need a shallow, wide container that can hold over a gallon. A washing-up bowl is often the right size and shape but isn’t ideal for pouring the old oil into a container for disposal.
Dedicated oil drain pans are available, which catch the draining oil and act as a container for transporting it to a disposal point. Check out the Matrix Concepts Oil Drain Pan on Revzilla. Or you might prefer a multipurpose fluid drain pan, such as the Bike Master Drain Pan.
Wash Your Motorcycle
Whenever you work on your motorcycle, it’s a good idea to wash it beforehand. Removing oil and grime from the areas you will be working on allows you to spot anything wrong or broken.
Washing your motorcycle also reduces the chance of contamination entering the engine while the oil filter is off.
Warm the Engine Oil
Cold, used engine oil doesn’t always flow very well, so to get as much of the oil out, it’s best to warm the engine first.
We recommend taking the bike for a short ride to get the engine up to temperature. Starting the bike for short periods and not allowing the engine to warm up correctly can cause corrosion issues in the engine and exhaust system.
Drain the Old Engine Oil
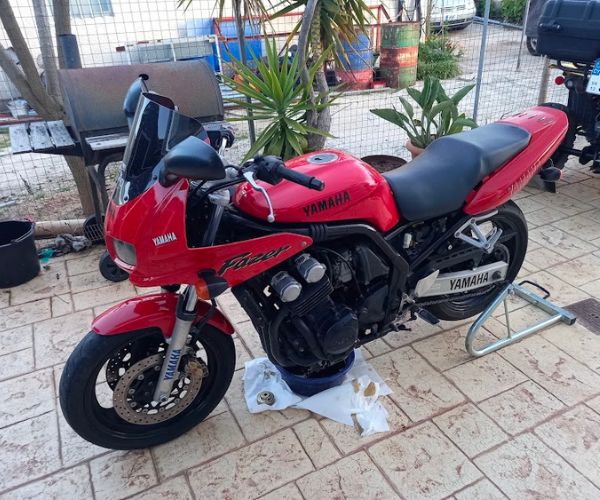
Now that the engine oil is warm and you have parked the bike on a flat, level surface, you’re ready to start draining the oil.
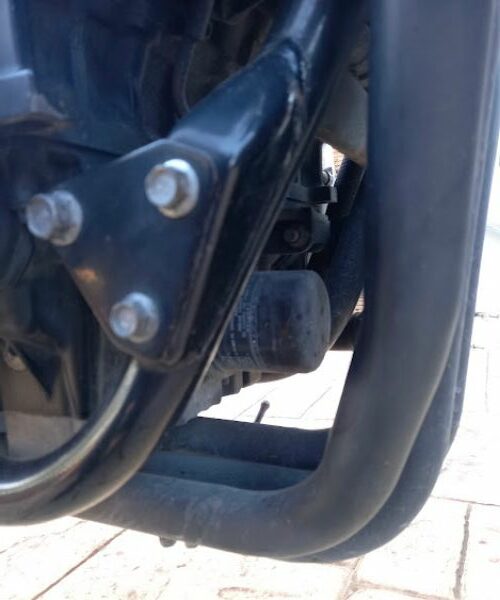
Depending on your type of motorcycle, you may need to remove some bodywork to access the oil-drain bolt and the filter.
Remove the oil filler plug. Position the oil drain pan under the engine, ensuring you have removed the plug from the drain pan and the drain cap is in place.
Yes, I’ve done that in the past! I started draining the oil, only to realize the bung was still in place. It makes a hell of a mess.
Putting paper towels under and around the drain pan is a good idea, or placing a plastic tray underneath is even better.
Bear in mind that if your drain bolt is on the front of the oil sump, the oil flow will initially travel quite a distance, so be ready to move the pan.
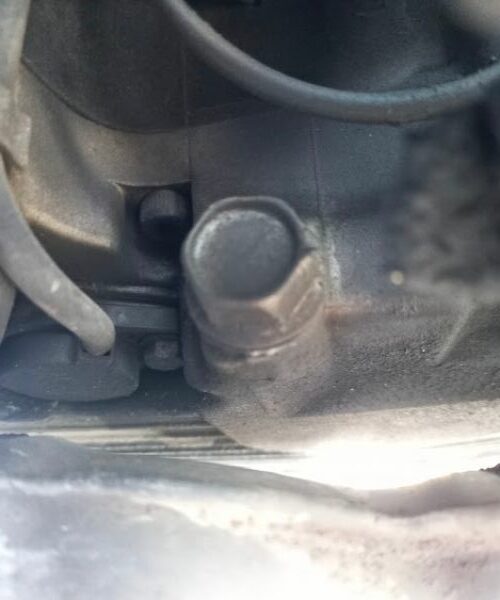
The drain bolt is usually easy to identify, but check the owner’s manual if you’re unsure. Loosen the oil-drain bolt with a spanner or wrench, then remove the bolt by hand. If you try to remove the bolt using the wrench, you might drop it into the drain pan, and retrieving it is messy.

Let the oil drain for as long as possible until the flow is down to a drip. The more oil you remove, the better.
While the oil is draining, get to work on the filter.
Change the Oil Filter
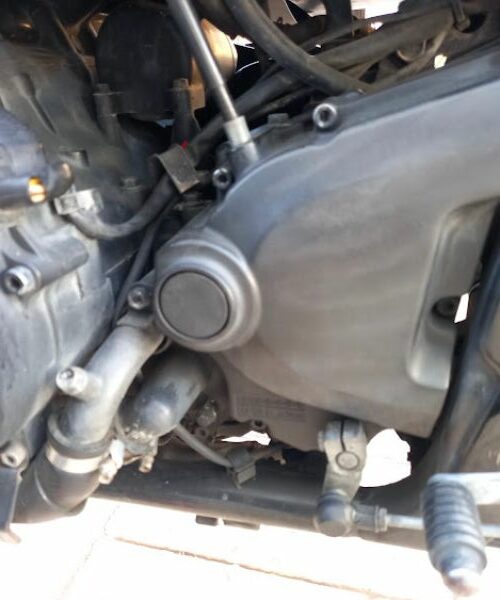
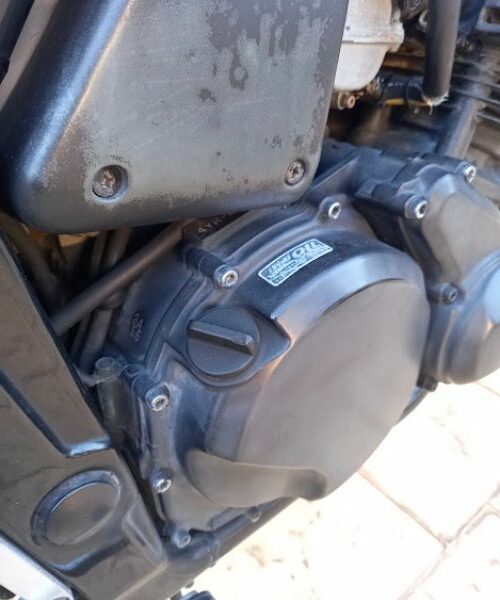
It’s worth looking at the filter location before doing an oil change. That way, you can buy the most appropriate wrench in advance.
Oil filter locations vary, but it is on the front of the engine behind the exhaust downpipes on most across-the-frame four-cylinder bikes.

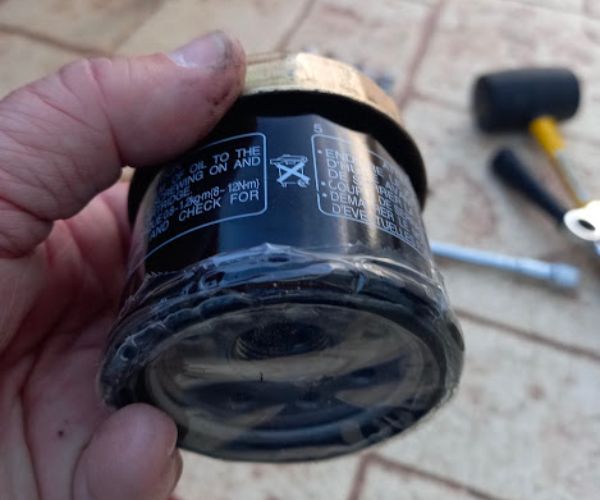
Oil filters are only attached hand-tight. However, over time, they can become difficult to remove. If you cannot remove the filter by hand, there are three alternatives:
- Oil filter wrench. If there is space, the easiest method is an oil filter wrench. There are various sizes to suit all motorcycle fitments.
- Oil filter strap wrench. A strap wrench is a valuable tool because it’s universal and will fit any oil filter.
- Screwdriver. As a last resort, although we don’t recommend this method, you can gently tap a flat-blade screwdriver or something similar through the oil filter. Be cautious and tap the screwdriver into the edge of the filter. This should give you enough leverage to loosen and remove the filter.

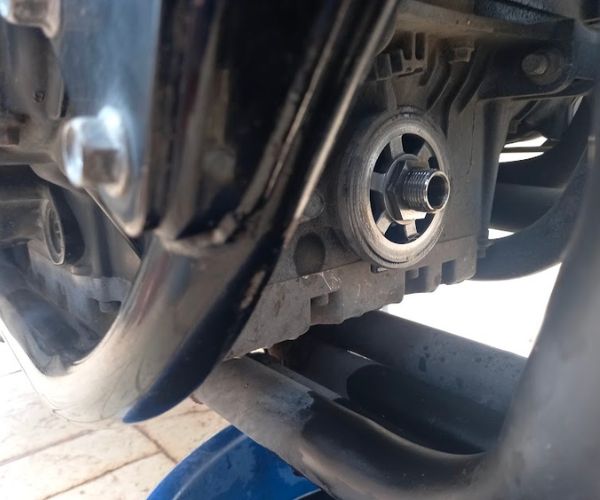
Once the oil filter is off, some residual oil may be at the bottom of the filter housing. You can carefully remove this with some paper towels, being careful not to leave any of the paper towels behind.
Refilling With Fresh Engine Oil
Refilling is a reverse of the drain procedure.
Refit the Oil-Drain Bolt
There is a crush washer on the oil-drain bolt, and it’s a good idea to replace this each time you change the oil. With a new washer fitted, insert the drain bolt by hand and tighten it. Now use a torque wrench to tighten the bolt to the recommended setting.
Wipe the underside of the sump and around the drain bolt to remove any residual oil.
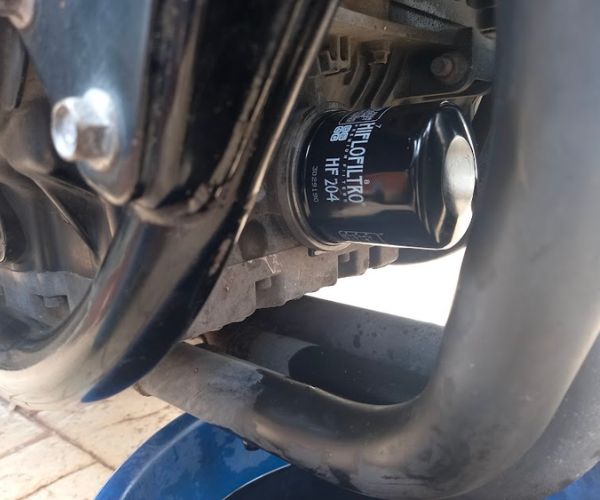
Fit a New Oil Filter
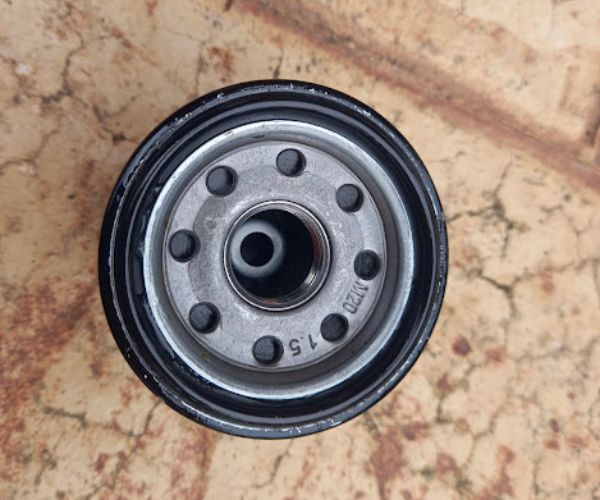
The face of the oil filter has a rubber seal. Wipe a bit of new oil on the edge of the seal where it mates with the oil filter housing. This helps to give a good seal and prevent leaks.
The filter only needs to be hand-tight, but check the owner’s manual for the recommended torque setting.
Wipe off any residual oil around the filter and housing.
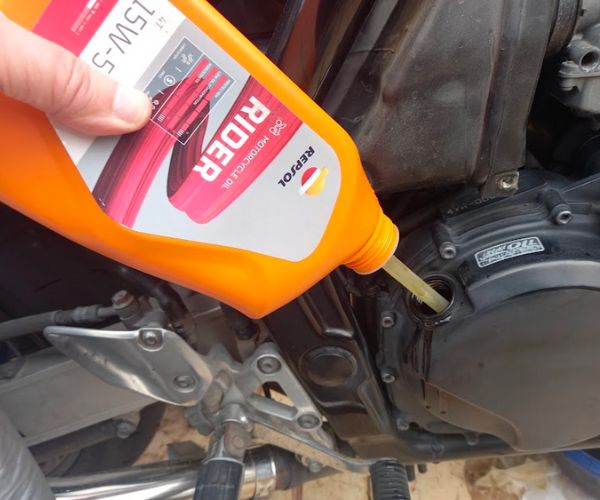
Refill the Oil
Check the owner’s manual for the recommended quantities of oil required. There will be two or three values.
- Refill quantity after engine rebuild
- Refill quantity after only the engine oil drain
- Refill quantity after engine oil and filter drain
The values given are only a guide. There will always be residual oil in the engine, except after a complete rebuild. Refill with fresh engine oil, keeping an eye on the oil-level glass. You’ll need to use the dipstick to check the oil without a level sight glass.
There are two potential problems when refilling the oil: overfilling and underfilling. Both can have harmful consequences for your engine.
Fill the engine slowly, a little bit at a time, to ensure you don’t overfill it. Putting too much oil in your engine can create excessive pressure within the oil system and crankcases, damaging oil seals. A low oil level can cause a lack of lubrication and damage to the engine.
Once the oil appears in the sight glass, stop adding oil and wait for a few minutes. The oil can take a while to work its way into the sump. Now add a small amount at a time to bring the level midway between the full and low marks.

Once you’re happy with the engine’s oil level, start the bike and leave the engine running for a minute. Switch the engine off and let the bike sit for 10 minutes. This will allow the oil to drain back into the sump. Check the level and top up if required.
Last Checks
Before you put everything back together and refit any fairing panels you removed, check for leaks around the oil-drain bolt and filter, and tighten as necessary.
Take the bike for a short ride. Just a few miles to get the engine nice and hot and circulate the oil properly. Recheck the oil level and look for leaks.
Once you’re satisfied everything is in order, refit anything you removed and look forward to your next ride out.
Pour the old oil into a suitable container and dispose of the old oil and filter at a recycling center.